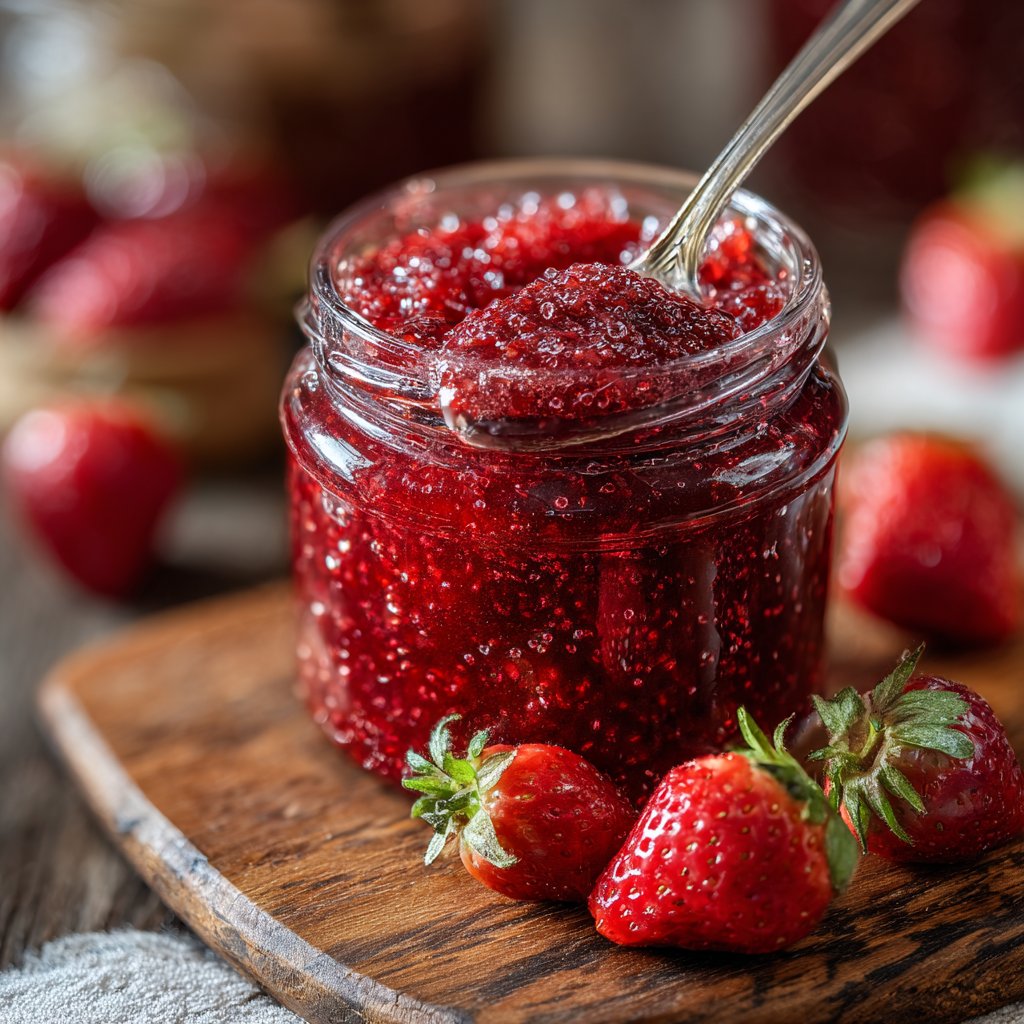
Classic Strawberry Jam Recipe
Highlighted under: Green Eating
I love making this classic strawberry jam because it captures the vibrant flavor of fresh strawberries in every jar. Whenever I see a basket of ripe strawberries at the market, I can't resist. The sweet aroma and juicy texture inspire me to create a spread that I can enjoy all year long. It’s surprisingly simple to prepare, and the satisfaction of sealing up your homemade jam is unparalleled. Plus, nothing beats spreading this on warm toast or dolloping it on yogurt for a delicious treat.
Making this strawberry jam brings back memories of sunny days spent in my grandmother's kitchen. We would wait for the strawberries to ripen and then turn them into golden jars of sweetness. I learned that the key to the best jam is to use fresh, in-season strawberries, and letting them shine through without too many added ingredients.
One tip I've found helpful is to use a mix of granulated sugar and a bit of lemon juice, which not only enhances the flavor but also helps the jam to set perfectly. The result is a delightful spread that sings of summer, even in the dead of winter!
Why You'll Love This Recipe
- Bursting with the sweet, tart flavor of fresh strawberries
- Simple ingredients that create a gourmet taste
- Perfect for gifts or enjoying with breakfast
Understanding the Ingredients
The choice of strawberries is crucial for a delightful jam. Opt for ripe, organic strawberries to achieve that rich, robust flavor. I love using varieties like Albion or Chandler, known for their sweetness and juicy texture. If you can't find fresh strawberries, consider using frozen ones; just ensure they are unsweetened and fully thawed before starting your jam-making process. The sugar not only sweetens the jam but also acts as a preservative, ensuring your jam's shelf life is extended, making it perfect for long-term storage.
Lemon juice is often underestimated in jam-making. Besides enhancing the flavor, it helps balance the sweetness of the strawberries. The acidity from the lemon juice also aids in setting the jam, especially if you're not using pectin. If you're looking for a lower-sugar alternative, you can also substitute part of the granulated sugar with honey or maple syrup, but keep in mind that these may slightly alter the final flavor and texture.
Mastering the Cooking Process
To ensure your jam achieves the perfect consistency, monitoring the cooking time is essential. As the mixture simmers, continue to stir frequently to prevent it from sticking to the bottom of the pot. If you notice it getting too thick too quickly, you can reduce the heat slightly to avoid burning. Alternatively, if it doesn't thicken as expected after 30 minutes, try simmering it a little longer while keeping an eye on the bubbling action; that visual cue is a good indicator of the jam nearing completion.
A common mistake is to rush the boiling process. It's important to bring the strawberry mixture to a full rolling boil; this means that even when stirring, the bubbles continue to break the surface. This stage is critical for achieving a proper set, so don't be tempted to skip it! When testing for doneness, remember the 'plate test': spoon a bit of jam onto a cold plate, let it sit for a minute, and then run your finger through it. If it wrinkles and holds its shape, your jam is ready for jarring.
Ingredients
Here’s what you’ll need to make your own classic strawberry jam:
Ingredients
- 2 pounds fresh strawberries, hulled and sliced
- 4 cups granulated sugar
- 1/4 cup lemon juice
- 1 packet pectin (optional, if you want a firmer jam)
Gather these ingredients and get ready to enjoy wholesome, homemade strawberry jam!
Instructions
Follow these steps to make your delicious strawberry jam:
Prepare the Strawberries
In a large bowl, combine the sliced strawberries and sugar. Stir gently and let them sit for about 15 minutes until the strawberries begin to release their juices.
Cook the Mixture
Transfer the strawberry mixture to a large pot over medium heat. Stir in the lemon juice and pectin if using. Bring it to a boil, stirring frequently.
Check for Doneness
Once boiling, let the mixture cook for about 30 minutes or until it thickens. You can check the consistency by spooning a small amount onto a plate and running your finger through it. If it holds its shape, it’s ready.
Jar the Jam
Pour the hot jam into sterilized jars, leaving about 1/4 inch of headspace. Seal them with lids and process in a boiling water bath for 10 minutes for preservation.
Cool and Enjoy
Let the jars cool completely at room temperature. Once sealed, your jam will be ready to enjoy on toast, in desserts, or as a sweet treat!
And there you have it—a simple yet delicious strawberry jam!
Pro Tips
- Be sure to use ripe strawberries for the best flavor, and don't skip the lemon juice
- it helps balance the sweetness and aids in preservation.
Storage and Shelf Life
Once you've jarred the jam, proper storage is key to maximizing its freshness. If processed in a boiling water bath, sealed jars can last up to a year in a cool, dark place. However, if you skip the canning step or if the jar doesn’t seal properly, store the jam in the refrigerator and consume it within a few weeks. Always check for signs of spoilage, such as bubbling or off-smells, before enjoying your jam.
For those who want to save time during busy months, consider making a larger batch of jam and freezing it. When freezing, make sure to leave ample headspace in each container, as the jam will expand as it freezes. To thaw, simply take it out of the freezer and let it sit at room temperature for several hours or overnight in the refrigerator. This way, you always have homemade jam ready to go whenever the craving strikes!
Serving and Enjoying Your Jam
Homemade strawberry jam is incredibly versatile! Spread it generously on toast, pancakes, or waffles for an indulgent breakfast. I also love adding it to yogurt for a quick snack or dessert. For something a little different, try using your jam as a filling for pastries or pairing it with cheese on a charcuterie board—its sweet-tart flavors complement sharp cheeses beautifully.
For gifts, consider packaging your jam in decorative jars with personalized labels and a short note about the batch's ingredients. Homemade jam always feels special and shows the recipient that you care. Plus, it's an opportunity to share the bounty of strawberry season throughout the year, making it a perfect treat for any occasion!
Questions About Recipes
→ How long can I store homemade strawberry jam?
Homemade strawberry jam can be stored in a cool, dark place for up to one year if sealed properly.
→ Can I use frozen strawberries for this recipe?
Yes, you can use frozen strawberries, but make sure to thaw them completely and drain excess liquid before starting.
→ What is the purpose of pectin in jam?
Pectin is a natural thickening agent that helps your jam set properly. If you prefer a softer jam, you can skip it.
→ Can I substitute other fruits?
Absolutely! This method works well with other berries or fruits like blueberries, raspberries, or peaches.
Classic Strawberry Jam Recipe
Created by: The Monicasrecipes Team
Recipe Type: Green Eating
Skill Level: Beginner
Final Quantity: 4 cups
What You'll Need
Ingredients
- 2 pounds fresh strawberries, hulled and sliced
- 4 cups granulated sugar
- 1/4 cup lemon juice
- 1 packet pectin (optional, if you want a firmer jam)
How-To Steps
In a large bowl, combine the sliced strawberries and sugar. Stir gently and let them sit for about 15 minutes until the strawberries begin to release their juices.
Transfer the strawberry mixture to a large pot over medium heat. Stir in the lemon juice and pectin if using. Bring it to a boil, stirring frequently.
Once boiling, let the mixture cook for about 30 minutes or until it thickens. You can check the consistency by spooning a small amount onto a plate and running your finger through it. If it holds its shape, it’s ready.
Pour the hot jam into sterilized jars, leaving about 1/4 inch of headspace. Seal them with lids and process in a boiling water bath for 10 minutes for preservation.
Let the jars cool completely at room temperature. Once sealed, your jam will be ready to enjoy on toast, in desserts, or as a sweet treat!
Extra Tips
- Be sure to use ripe strawberries for the best flavor, and don't skip the lemon juice
- it helps balance the sweetness and aids in preservation.
Nutritional Breakdown (Per Serving)
- Calories: 110 kcal
- Total Fat: 0g
- Saturated Fat: 0g
- Cholesterol: 0mg
- Sodium: 1mg
- Total Carbohydrates: 29g
- Dietary Fiber: 0g
- Sugars: 27g
- Protein: 0g